



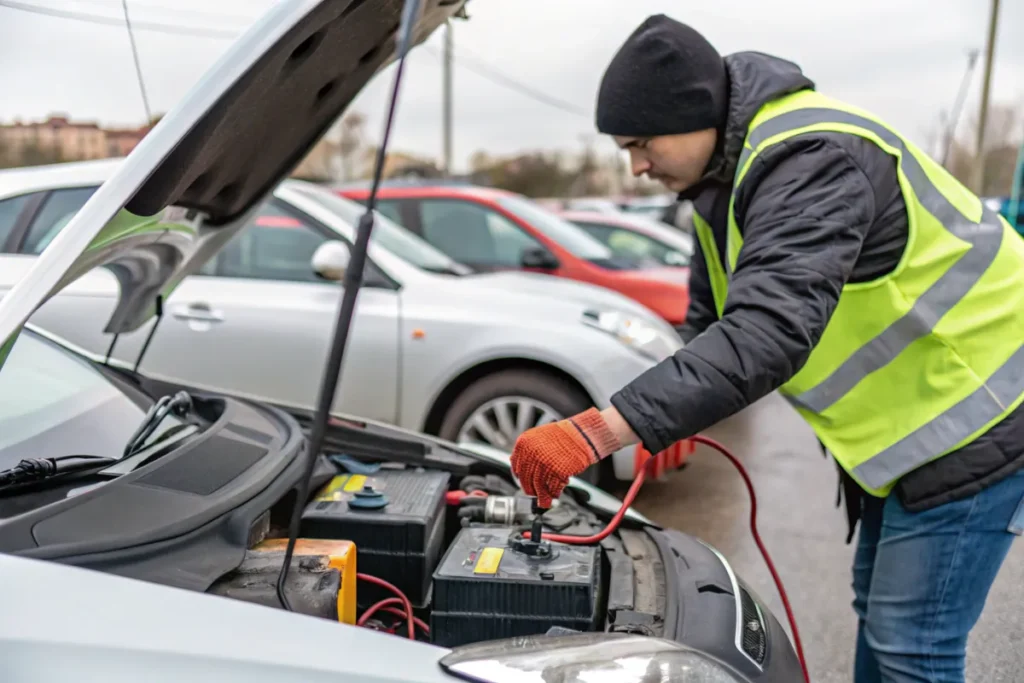
You turn the key and nothing happens. You are stranded, often in the worst moment possible. Modern vehicles are not just mechanical machines. They are complex systems with up to 64 Electronic Control Units that control everything from ignition to safety systems. A wrong jumpstart can send a voltage spike through the system and damage sensitive electronics. This guide will show you how to jumpstart a car correctly.
Electric vehicles and hybrids follow different procedures. Always check the owner manual before attempting any jumpstart. This guide focuses on standard 12V battery systems in conventional cars.
Safety First: Risks You Can’t Ignore
A car battery contains sulfuric acid and produces hydrogen gas. Hydrogen is highly explosive. A small spark near the battery can trigger ignition.
You must control where sparks occur. That is why correct clamp placement matters.
Never attempt a jumpstart if you notice:
- A frozen battery
- A swollen or cracked battery case
- A strong rotten egg smell, which indicates internal failure
These conditions signal a dangerous battery. Replace it instead of trying to jump it.
Keep metal tools away from terminals. Remove jewelry if possible. Always work in a ventilated area.
What You’ll Need
You need the right equipment to ensure safe and efficient power transfer.
Essential tools:
- Jumper cables rated at 4 gauge for low resistance and high current flow
- A donor vehicle with a healthy 12V battery
Thicker cables reduce voltage drop and improve starting performance. Thin cables often fail under load.
Alternative option:
Portable lithium jump starters offer a safer and more controlled solution. Devices like Clore JNC325 or NOCO Boost Plus eliminate the need for a second car. They also reduce the risk of damaging ECUs.
Step by Step: The Correct Cable Sequence
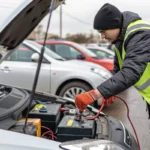
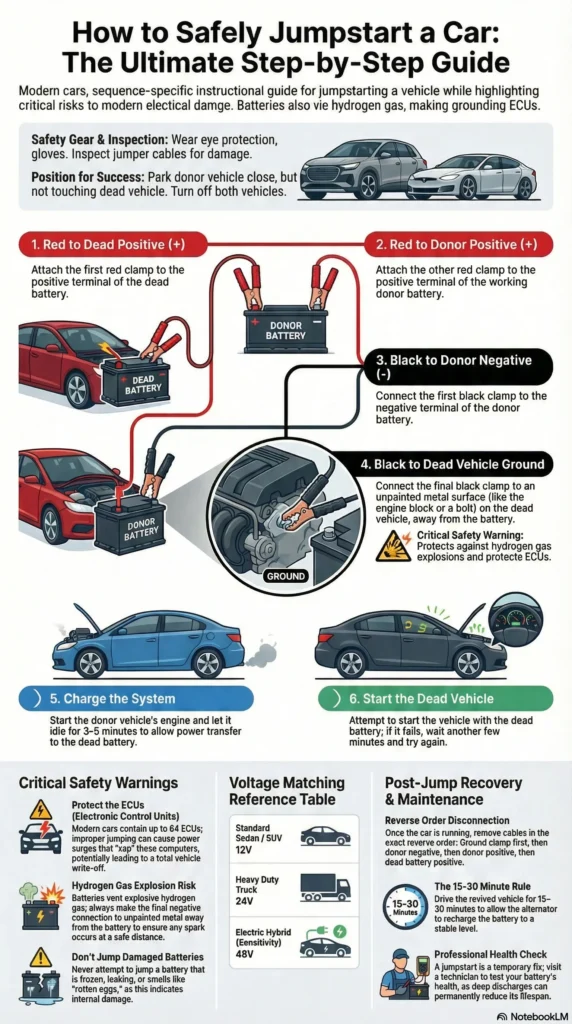
Follow this sequence exactly. Incorrect order causes most failures and increases the risk of electrical damage. Studies show that 89 percent of jumpstart issues come from wrong clamp connections.
- Position the Vehicles
Place the cars nose to nose, about 15 to 30 cm apart. Do not let them touch. - Red to Dead
Connect the red positive clamp to the positive terminal of the dead battery. - Red to Donor
Connect the other red clamp to the donor battery’s positive terminal. - Black to Donor
Attach the black negative clamp to the donor battery’s negative terminal. - Ground the Final Clamp
Attach the last black clamp to a solid, unpainted metal surface on the dead car. Use a bolt or engine block. Do not connect it to the battery. This step protects against sparks near hydrogen gas and improves ECU protection. - Start the Donor Vehicle
Start the donor car and let it run for 3 to 5 minutes. This builds a surface charge in the dead battery. - Start the Dead Vehicle
Try to start the dead car. If it does not start, wait another few minutes and try again.
Removal: The Reverse Order
Remove the cables in strict reverse order. This prevents short circuits and voltage spikes.
Follow this sequence:
- Remove the black clamp from the grounded metal point
- Remove the black clamp from the donor battery
- Remove the red clamp from the donor battery
- Remove the red clamp from the revived vehicle
Do not let clamps touch each other during removal.
Troubleshooting: How to Jumpstart a Car
Sometimes the car still will not start. Use these quick diagnostics.
Problem: Single clicking sound
Cause: Weak connection or faulty starter
Solution: Check clamp contact and terminal cleanliness. Try again.
Problem: Lights turn on but engine does not crank
Cause: Low Cold Cranking Amps or electrical fault
Solution: Battery may be too weak. Replace or test it.
Problem: No response at all
Cause: Dead battery or blown main fuse
Solution: Inspect fuse box and battery condition.
Problem: Car starts then dies quickly
Cause: Alternator issue or severely degraded battery
Solution: Drive immediately or seek inspection.
Post Jump Maintenance
A successful jumpstart does not mean the problem is solved. The battery likely discharged for a reason.
Drive the car for at least 15 to 30 minutes. This allows the alternator to recharge the battery.
Monitor the vehicle over the next few days. If it struggles again, the battery may be near the end of its life.
Most batteries last 3 to 5 years. After 3 years, you should test performance regularly. High mileage vehicles and extreme temperatures accelerate battery wear.
Schedule a professional check if needed. A technician can test voltage, load capacity, and charging system performance.
Final Thoughts: How to Jumpstart a car
Jumpstarting a car requires precision and discipline. Modern vehicles rely heavily on electronics, and mistakes can lead to expensive damage.
Follow the correct jumper cable sequence. Use proper grounding. Invest in quality tools. These steps protect both your safety and your vehicle systems.
If you want to maintain your car the correct way, I suggest reading my guide of how to check the car’s oil level!