With our tutorial “How to create a website: step by step tutorial”, learn how to create your first website. Follow the steps to build it and upload it to your online web hosting.
What is a website
A website is a collection of web pages, linked together and publicly accessible. Those pages share the same name domain. A website can be created and maintained by a person, a group of persons or an organization to serve many purposes. A website is also known as “Site”.
A web page is a document written basically in HTML language (Hypertext) which can be interpreted and displayed by a web browser.
What are the main prerequisites to create a website
To be able to create a website, the following is important to know:
– Basic knowledge about HTML (Hypertext Markup Language)
– Basic Knowledge about CSS (Cascading Style Sheets)
Planning your actions

Plan
As any project, planning your actions is important to achieve your goal. Plan your steps, your budget, list your tools and your needed skills.
Also, set a limit on time, with clear steps and the time needed for every step. That way you won’t be lost and you will have a projection about where you are heading to.
Seek for inspiration
Take a look at websites with the same topic you are targeting and which are doing very well, with great content and great design.
– Focus on ease of access, the information must be clearly and easily accessible.
– Keep the design as simple as possible.
– Develop a clear vision of your website. What purpose will it serve? Is it for booking online, blogging, business or e-commerce?
– Get clear ideas about your home page, its design, it’s content. Visitors should immediately know who you are and what do you offer.
Choose your main topic
If you already have a clear idea about the topic you are going to cover in your website, skip this step. If not, here are some tips to help you to find your topic.
– First, keep in mind that billions of people are in the internet. So, almost all the topics have already been covered. It does not mean that it’s over, nut just keep that in mind in order to adapt your content to offer added value.
– Determine which type of website you are going to build. E-commerce? Music? News? Bloggings? Those are a very good types to start with.
– Consider your hobbies and interests when searching for a topic.
Set your budget

You can build a website for free, but to design a commercially successful website, you will need to spend money. First it will cost money to get web hosting and a domain name. Also, you may need to purchase, a template, some plug-ins or add-ons. If you hire a professional, the budget will get bigger. So, figure out how much money you will need and how much you can spend.
Draw a flowchart of your website
One of the key steps in building your website is to draw a flowchart of it. The chart Must clearly displays how users navigate from a page to another, like a site map. In general, the first page will be “Home page”, this is the page everybody sees when they first going to your website’s URL. Spend some time thinking and planning how the pages will be organized and linked together in order to provide ease of access and relevant information.
Gather and create the content

The ultimate step before starting building your website, is to gather the maximum of content you will need. Depending on the type of content you are going to publish, you will decide what is the best for your website.
Up to date and relevant information is a must to get indexed by Google and other search engines. That will bring you visits and returning visitors.
Consider the following things:
- If it’s a webstore you will need to prepare the products information and the product photos (good quality photos)
- Media: Prepare your media, videos, photos, images, audios, …. Be ready.
- Prepare the texts of pages like “about us”, “who we are”, “contact us”, “privacy policy”, …
- If you are building a blog, prepare your first articles with enough details, pictures, and other resources.
Building your website

Decide what tool you will use
While you can build your website manually with only HTML, CSS, JavaScript and php, we will not cover this method in our article since it is no longer used as the main method. That is due to the availability of tools (mainly CMS) and software (Like Adobe Dreamweaver) that simplifies the task.
Using a Software: Using software like Adobe Dreamweaver or Microsoft Publisher can be a way to create your website. Some of them can link with your web host FTP and update your website in real time.
Pros: Making the programming faster. They can help you if you don’t know HTML and CSS. You can use templates and see your website templates in real time.
Cons: If you don’t know how to code, you will be very limited to the design tools the program offers. These programs may also have subscription costs or fees.
Using a Content Management System (CMS): The CMS is a system that allows you to quickly create a website, manage its content and maintain it without having a deep knowledge on coding and web developing. The CMS allows you to create your website with predesigned templates (some are free but the best ones are paid), and depending on which CMS you are using, many plug-ins and add-ons are available to help you to add many functionalities to the site.
The main CMS used today is WordPress, nearly 43% of websites are designed using WordPress. But it is not the only one. Here is a list of some CMSs:
- WordPress (Learn How To Install WordPress Locally On Windows Or Mac)
- Joomla (Learn How To Install Joomla Locally And On A Web Server)
- Droopal
- Prestashop (For e-commerce) (Learn How To Install Prestashop 8 Locally)
- Magento (For e-commerce)
Pros: CMSs are fairly easy to learn, with a lot of tutorials and guides to help you in the website building process. They offer you predesigned pages and features, that make the building process faster. Many themes, add-ons and plug-ins are available to cover almost all your needs.
Cons: If you use only the free versions of a template, plug-in or add-on, on most cases, you will not have all the features. A purchase is needed to access all the features.
Use a website builder: Website builders are often easy to use and offers all-in-one service. Using the drag and drop, you can easily create your design and content. Many website builders will offer you the hosting too. As examples, popular website builders like Wix, SquareSpace, GoDaddy or Hostinger, offers an all-in-one experience. For the E-commerce, the most famous one is Shopify.
Pros: Website builders offer the easiest way to create a website with almost no technical knowledge. They offer the hosting and domain name in one service offer.
Cons: Website builders have generally monthly subscription fees. Also, they are limited in term of templates and designs. To migrate your website to another company, you will need to rebuild it.
Hire a professional to build it for you: If any of the previous options fits your needs, you still can hire a professional to do the work for you. Before hiring them, ask to see a portfolio of their realizations and check their references carefully.
Pros: A good professional will work closely with you to design the website exactly how you want it. They have the skills to design a professional website with all the security updates.
Cons: this option will be the most expensive one. For any update or modification on the website you will need the services of that professional, which costs money.
Sign up for a web hosting plan
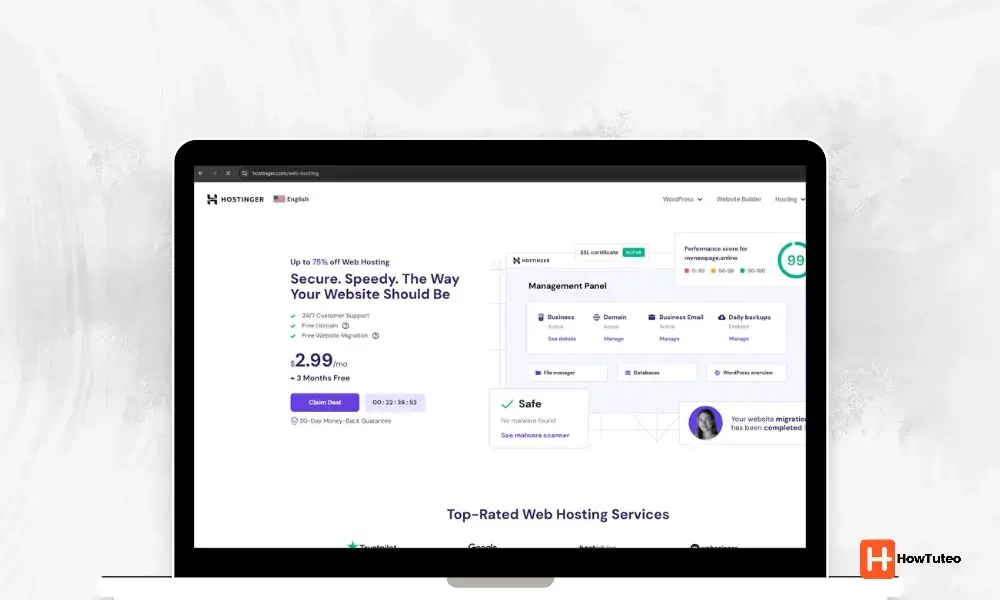
Hosting your website is an important step. The host is the server where you are going to store your website. The company providing this server is the web hosting provider. When searching for web hosting, keep in mind the following: your budget, the storage space you will need, your security needs, the expected traffic (In consequence the bandwidth, CPU and Memory) needed and the customer support.
Also take in consideration, the localization of the server according to the localization of the majority of your visitors.
There are multiple types of web hosting:
- Shared hosting: It’s the less expensive one and, your website shares the same server with many other websites. A great option for small websites and for beginner web designers.
- Virtual Private Server (VPS) hosting: With the VPS you will still share the same server with many other websites but you own a dedicated partition and dedicated resources. This gives you more freedom in controlling your hosting and needs a little more technical knowledge.
- Dedicated hosting: It’s when you have a dedicated server all to your website. This gives the website owner the most control over the server. Technical skills and higher budget will be needed.
- Cloud hosting: That one allows your server to run on multiple servers for better reliability and performance. This option is expensive and gives you less control on the server.
Register your domain name
A domain name is a unique URL that the user will use in a browser to get to your website. You need to register your domain name in order to be able to use it.
Be sure to choose a domain name that reflects your topic or activity.
There are many hosting providers that register domain names, as examples you can check, GoDaddy.com, Hostinger.com or many more.
Connect your domain name to your web host
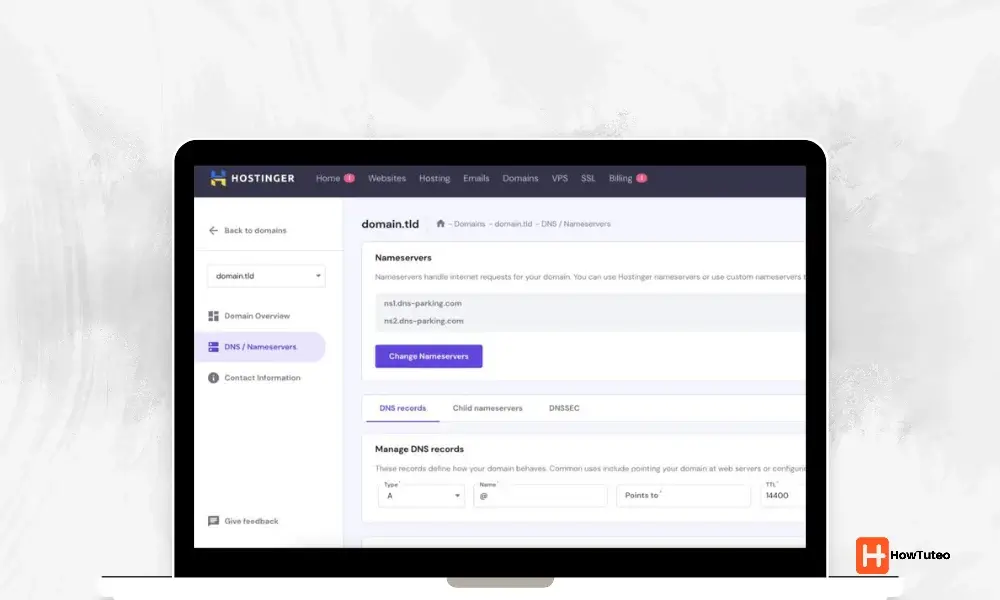
Depending on the plan you chose, the connection between your domain and your web host can be configured by your web hosting provider, or not, then you will need to configure it by yourself. To do so, you will need the name of your web hosting server or it’s IP address. You can ask your hosting provider for this information. Then you proceed to the registration of your domain name with your server.
Here are the steps to follow:
- Log into the website you that you chose to register your domain name (In general it’s your web server provider).
- Go to “DNS Settings” or “Name server settings”
- Select “Add a new record”
- Select an “A” type record
- Add the server’s name or IP address to the domain name
- Save the record
Start building the website

In general, you will start building your website in your local web server (Web server that you will install in your laptop or desktop such as WAMP server).
Then if you are using CMS, download the chosen CMS, install it following the guided steps. Configure it, add templates, install add-ons, install needed plug-ins and customize your website.
Finally, start adding your content and generate the site map that you will submit to Google search engine via Google Search Console.
Testing and going live
Test drive your website before going live
Before uploading your website in your online web server, test it thoroughly. Look for broken links, optimize the website for search engines (SEO), inspect your content.
Also, test all the functionalities, navigate through your website to find if there is any bugs or errors. Test your website with different screen ratios and sizes, check if it is compatible with mobile devices, with tablets, with large screens, … Because your website will be accessible from all the devices around the world that are connected to internet.
Upload your website to your web host

When all the tests are OK, and your website is fully functional, you can upload it to your web server to make it live.
Your web hosting provider may provide you an FTP feature that allows you to access the server’s files. Use FTP software like FileZilla to upload your website’s files.
Also, you may have a database feature provided by your web hosting provider. Use this feature to import your data base if your site is running one. In general, all CMSs uses database to work.
What next?
Grow up your audience and traffic
Once your website is live and you start getting some traffic, there is some essential steps to do to grow the flow of visitors to your site:
- Always optimize your content for search engines using SEO best practices
- Create social media accounts for your website and share your content there
- Talk about your website to friends and family and ask them to share it with their friends
Get used to the competition
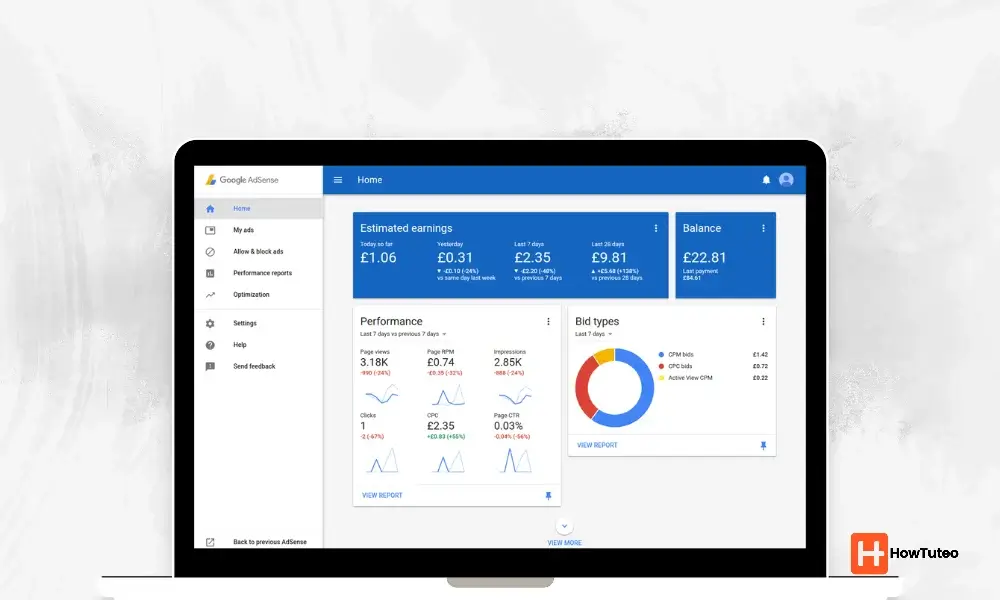
Since content sites requires less effort and investment, anyone can start a content site. To drive a lot of traffic to your site and generate money through advertising using Google Adsense for example, you must be competitive by providing good and valuable content. Use keywords that matches the best the interests of your targeted audience. Don’t use the AI too much to generate your content.
Know your audience
Check and respond to the comments of your audience either on the website or in the social media platforms. Like that you will build a clearer vision about your audience. Then adapt your content or your products in order to match at the maximum their needs.
Do keyword research
This step is necessary to know if people are searching for topics in your website and can be useful to understand more your audience.
For that you can use tools like Google Trends, Google Search Console, Semrush or Ahrefs.
Provide quality content
Most of all, as said earlier, listen to your audience or customers and use their feedbacks to adapt your content.
Advertise
Advertising is a serious alternative that can help you grow your audience. Start advertising campaigns in social medias such as Facebook and Instagram (You can use Facebook Ads Manager for that) or in search engines such as Google (You can use Google Ads Manager for that). Keep in mind that advertising on those platforms is not free and that the campaign’s results depends on a variety of parameters such as the budget, the ad content or the ad optimization.


